Showing posts with label recipe. Show all posts

Saturday, 13 October 2012

Day 12 - DIY Quick Pizza Dough

If you havn't noticed already, my posts in this 31 day challenge have all either been focused around inexpensive or quick...or both, and today is no different.  This recipe for pizza dough is both extremely quick and cheap.  There is no waiting around for two or three hours for this dough to rise.


You will need:
     
          1 cup          warm water
          1 tsp.           sugar
          1 tbsp.         yeast
          1 tsp.            salt
          2 tbsp.          olive oil
          1 cup            whole wheat flour
          1 1/2 cups     white flour

Put the warm water in a bowl and dissolve the sugar. Sprinkle the yeast on the water and let sit for about 10 minutes until it becomes frothy (I like to cut up my pizza toppings while I wait).

Add the rest of the ingredients and mix until it comes together then knead until it becomes smooth and elasticy. I have a stand mixer that I let do all the work which makes this recipe even easier.

Let sit on the counter, with a tea towel over top for another 10 minutes (you don't have to do this step but it will help with rolling it out.

Roll it out into your pizza shape and top with your favourite ingredients.

Bake in a 425 degree oven for about 15 minutes or until the cheese is nice and golden.

This would also be great for kids.  You could make them each their own individual pizza then let them have fun topping it with their favourites.

Enjoy!


Thank you for visiting A Cup of Tea and Life.  Please take a moment to share us with your friends and family.

Thursday, 4 October 2012

Day 3 & 4 - DIY tortilla mix and seeds

So it's only four days into my thirty-one day challenge and I am already behind on my posts.  October is turning out to be one hectic month.  Nevertheless, I am back with two new DIY projects today.  This is a caution that this is going to be a rather lengthy post as I am making up for my tardiness yesterday. The first one is a homemade tortilla mix that you can store in your pantry to be able to make quick and easy tortillas. Here is a link to the recipe, which I found on good old pinterest tortilla mix.  This site also has some other great recipes for mixes.

This was really simple to make. You basically mix all of the dry ingredients together and then cut in the shortening.

Then put it in a nice container in your pantry to access any time you want to make delicious homemade tortillas.


Whenever you feel like making tortillas you just scoop out two cups of your premade mix, add the wet ingredients, mix them together to form a ball and then divide the dough into equal parts. I believe I made 8-10 tortillas from 2 cups of the mix. Then roll them out and place them on a hot pan or griddle and they will cook up in about 4 minutes.


I kept them warm and pliable by placing them in between paper towel. Serve with your favourite filling and enjoy!

DIY project number two is storing seeds for spring.  For the past couple of years, my husband and I have had a smallish garden where we plant a few different fruits and veggies. Instead of buying seeds or seedlings from a store or garden centre we like to save seeds from previous harvests to use the next year.  This helps us to be a little more self-sufficient and not so reliant on grocery stores and garden centres to provide us with our plants.  Plus it saves us a few dollars on seedlings in the spring and it is really simple to do.

All you need to do, whenever you have a fruit or veggie that you would like to plant in your garden the next year is scoop out the seeds, rinse them clean and lay them out to dry.


Once they are dry (make sure that they are completely dry so they don't go moldy) store them in a container until next spring.  I purchased this container from the dollar store and put a sticky label inside each compartment to identify the seeds (because pumpkin seeds look a lot like acorn squash which look identical to butternut squash). Next spring they will be ready to plant!


Thank you for visiting. Please take a moment to share us with your friends and family.

Monday, 1 October 2012

31 Days of DIY...Day 1

Welcome to the first of thirty-one days of DIY fun.  My first adventure into this challenge is a do-it-yourself fishy crackers.  I found this recipe on pinterest and thought that I would like to try it and see if my son would enjoy them as much as the store bought variety.  I try as much as possible to make things myself rather than purchase them in a store. This way I know what is going into the food and I know that there aren't any additives or preservatives. Here is a link to the recipe I used from The Cupcake Project goldfish crackers

First I put all of the ingredients, except the water in a food processor and blended it until it looked like crumbs.


I then added water a tablespoon at a time until it looked like this...


Once it was a nice solid dough I separated it in half wrapped one in plastic wrap, put it in a freezer bag and put it in the freezer so I could make more later.  I then rolled out the other half until it was really thin.  The thinner they are the crispier they will be once cooked. I didn't have any fish cutters and didn't want to go out and buy some just for this recipe so I used some other small cutters that I had already.


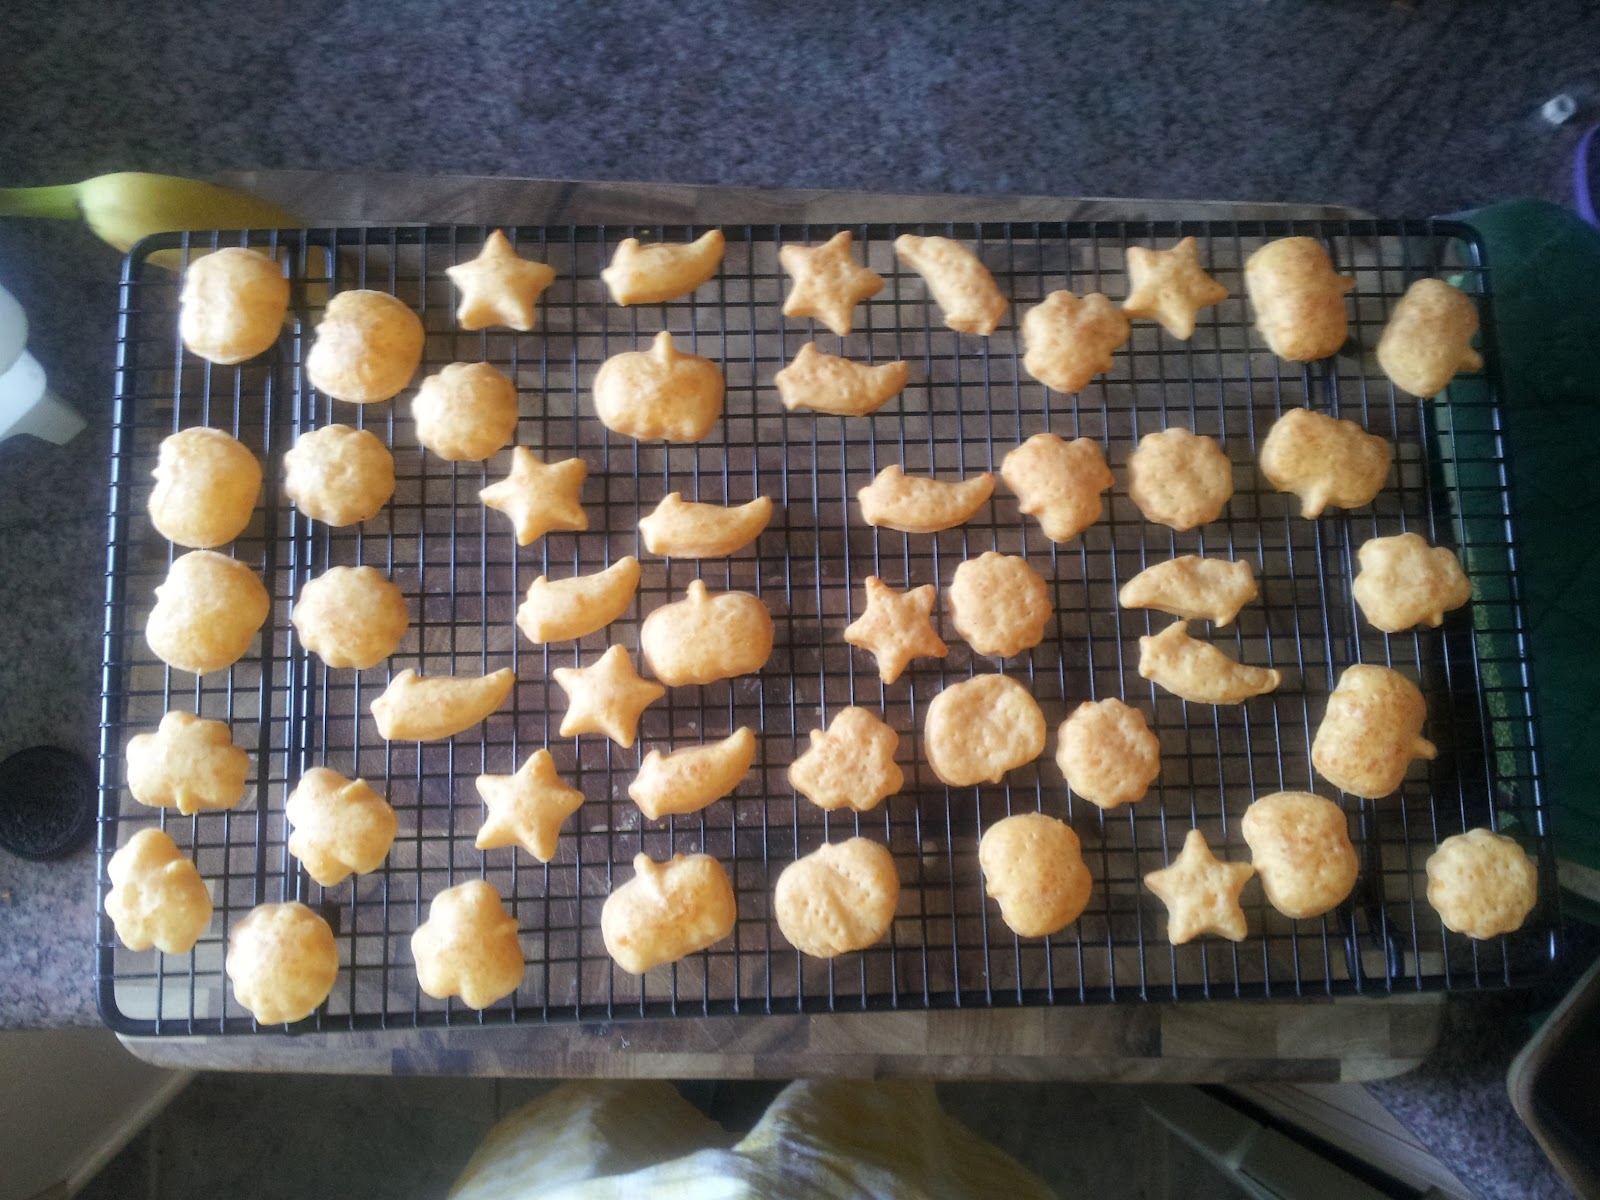
This is what they looked like once cooked.  I don't think I rolled them out thin enough this time, they turned out a bit chewy so I would make them even thinner next time.

My son LOVED them and I loved that they were easy to make and I could control what went into them.  I find that the ones in the store are so salty, but not these :) I think that next time, I will make a double batch so I could put all the extra in the freezer.

Anyone have a recipe that they prefer to make from scratch rather than purchase from a store? 

Thank you for visiting! Please take a moment to share us with your friends and family.